Centralize all your leads automatically
Your website generates contact requests. Your form works, emails arrive… somewhere. But then what?
You have to copy-paste information into a spreadsheet. Or worse, you handle requests directly from your inbox, with no tracking, no history, no organization.
65% of web leads are lost due to lack of processing within 24 hours. The problem isn’t the form, it’s what comes after.
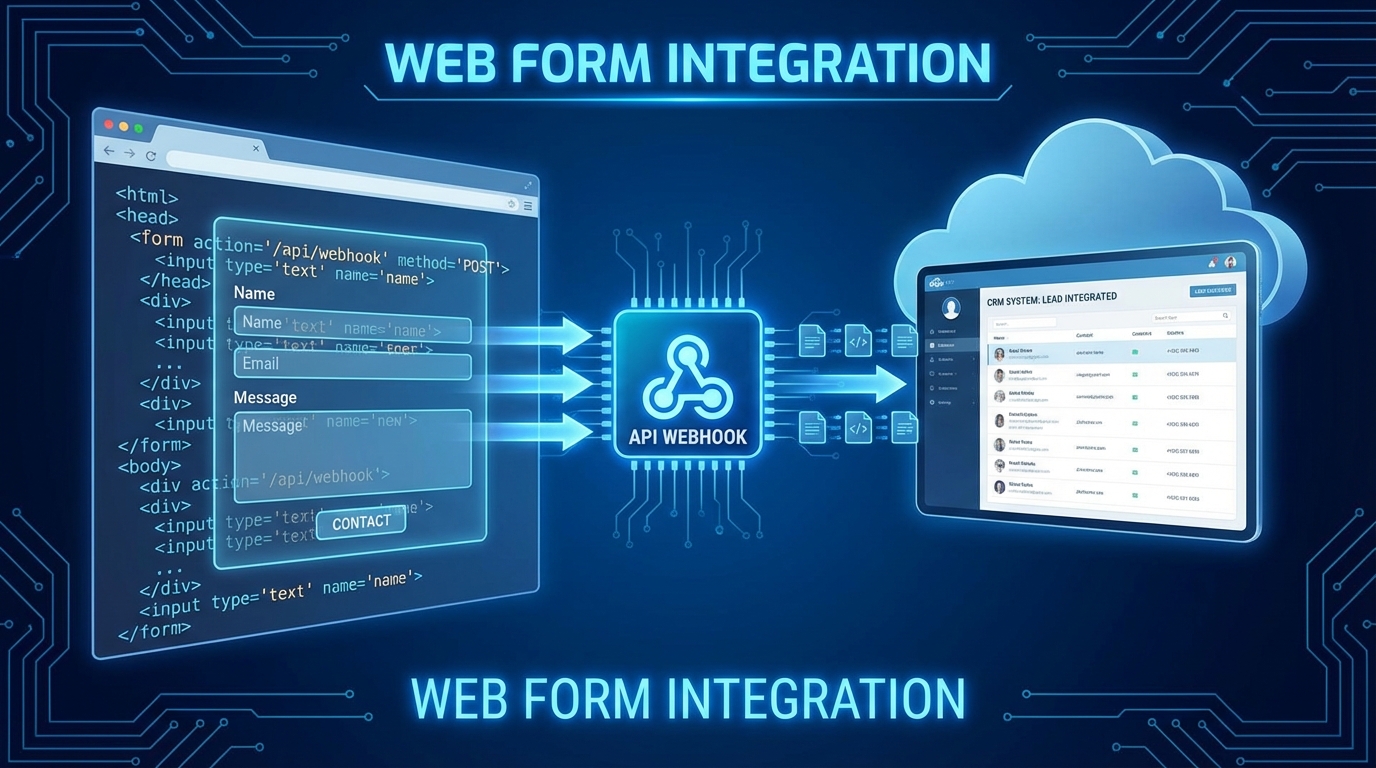
With Prospect Hub’s CRM form integration, every submission lands directly in your pipeline. No more copy-pasting, no more forgotten leads. In this technical guide, I’ll show you how to connect any web form to your prospecting CRM — in just a few lines of code.
Prerequisites: get your API key
Before modifying your form, you need to retrieve your personal leads API key.
Step 1: Access integrations
- Log into your Prospect Hub account
- Click Settings in the menu
- Select the Integrations tab
Step 2: Create an API key
On the integrations page, you’ll find the API Keys section.
- Click Create a new key
- Give it a descriptive name (e.g., “Main site form”)
- Click Generate
Step 3: Copy the key
Your key appears in the format pk_xxxxxxxxxxxxxxxxxxxxx. It always starts with pk_ (for public key).
Important: This key only allows creating leads. It doesn’t give access to your existing data. You can safely use it in client-side code.
Keep this key handy — you’ll need it for the following steps.
Option 1: Simple HTML form
This is the quickest method. A classic form that sends data directly to Prospect Hub.
Complete form code
<form
  action="https://prospect-hub.app/api/public/leads"
  method="POST"
>
  <!-- API key (required) -->
  <input type="hidden" name="_api_key" value="pk_your_key_here" />

  <!-- Redirect after submission -->
  <input type="hidden" name="_redirect" value="https://yoursite.com/thank-you" />

  <!-- Anti-spam protection (honeypot) -->
  <input type="text" name="_gotcha" style="display:none" />

  <!-- Form fields -->
  <div>
    <label for="name">Full name</label>
    <input type="text" id="name" name="name" required />
  </div>

  <div>
    <label for="email">Email</label>
    <input type="email" id="email" name="email" required />
  </div>

  <div>
    <label for="phone">Phone</label>
    <input type="tel" id="phone" name="phone" />
  </div>

  <div>
    <label for="message">Message</label>
    <textarea id="message" name="message" rows="4"></textarea>
  </div>

  <button type="submit">Send my request</button>
</form>
Fields supported by the leads API
Here are all the fields Prospect Hub automatically recognizes:
| Field name | Type | Description |
|---|---|---|
name | text | Contact’s full name |
email | Email address | |
phone | tel | Phone number |
message | textarea | Message or comment |
address | text | Postal address |
city | text | City |
postalCode | text | Postal code |
subject | text | Subject (stored in formData) |
All fields are optional except name or email (at least one is required to identify the lead).
Built-in anti-spam protection
The _gotcha field is an invisible honeypot: bots fill it automatically, humans don’t see it. But that’s only the first line of defense. Prospect Hub actually applies 9 layers of protection on every submission, including AI content analysis to block spam that honeypots can’t detect.
Redirect after submission
The _redirect field defines where the user will be redirected after submitting the form. Create a thank-you page on your site to confirm receipt.
<input type="hidden" name="_redirect" value="https://yoursite.com/thank-you" />If you don’t specify a redirect, the user will see a generic confirmation message from Prospect Hub.
Option 2: JavaScript with fetch API
For a smoother user experience (no page reload), use JavaScript.
Complete code with async/await
const form = document.getElementById('contact-form');

form.addEventListener('submit', async (e) => {
  e.preventDefault();

  const submitBtn = form.querySelector('button[type="submit"]');
  const originalText = submitBtn.textContent;

  // Visual feedback
  submitBtn.disabled = true;
  submitBtn.textContent = 'Sending...';

  // Collect data
  const formData = new FormData(form);

  // Add API key
  formData.append('_api_key', 'pk_your_key_here');

  try {
    const response = await fetch('https://prospect-hub.app/api/public/leads', {
      method: 'POST',
      body: formData
    });

    if (!response.ok) {
      throw new Error('Server error');
    }

    const result = await response.json();

    // Success: show confirmation
    form.innerHTML = `
      <div class="success-message">
        <h3>Thank you for your message!</h3>
        <p>We will get back to you as soon as possible.</p>
      </div>
    `;

  } catch (error) {
    // Error: re-enable the form
    submitBtn.disabled = false;
    submitBtn.textContent = originalText;

    alert('An error occurred. Please try again.');
    console.error('Form error:', error);
  }
});
Advantages of the JavaScript method
This approach offers several benefits:
- No reload: the user stays on the same page
- Real-time feedback: button disabled during submission
- Error handling: clear message in case of problems
- Analytics: ability to track conversions
API response format
On success, the leads API returns:
{
  "success": true,
  "leadId": "lead_abc123xyz",
  "message": "Lead created successfully"
}
On error:
{
  "success": false,
  "error": "Invalid API key"
}
Useful hidden fields
Beyond contact information, you can enrich your leads with tracking data.
Lead source (UTM)
Identify where your visitors come from:
<input type="hidden" name="source" id="utm-source" />

<script>
  // Get UTM parameter from URL
  const urlParams = new URLSearchParams(window.location.search);
  const utmSource = urlParams.get('utm_source') || 'website';
  document.getElementById('utm-source').value = utmSource;
</script>
Origin page
Know which page the form was filled on:
<input type="hidden" name="formData[page]" id="page-origin" />

<script>
  document.getElementById('page-origin').value = window.location.pathname;
</script>
This information will appear in the lead record, letting you analyze which pages convert best.
Test your integration
Before going to production, validate that everything works.
Local testing
- Open your form in a browser
- Fill all fields with test data
- Submit the form
- Check in Prospect Hub that the lead appears
Checks to perform
- The lead is properly created in your list
- All fields are correctly populated
- Redirect works (if used)
- Confirmation message displays (if JavaScript)
Developer tools
Use your browser’s Network tab (F12) to see the sent request. You should see:
- URL:
https://prospect-hub.app/api/public/leads - Method:
POST - Status:
200or201
Troubleshooting: common errors
Here are the most frequent problems and their solutions.
”Invalid API key” error
Cause: The pk_xxx key is incorrect or expired.
Solution: Check in Settings > Integrations that the key is active. Copy it again, making sure there are no spaces before or after.
”CORS” error
Cause: The browser blocks the cross-origin request.
Solution: Prospect Hub’s API accepts requests from any origin. If you see this error, verify you’re using https:// (not http://) and that the URL is correct.
Lead created but incomplete
Cause: Field names don’t match.
Solution: Use exactly the names listed in the supported fields table. For example, name (not nom), phone (not telephone).
Form doesn’t submit
Cause: JavaScript error blocking execution.
Solution: Open the browser console (F12 > Console) to see errors. Fix them before retrying.
Conclusion: automate your lead generation
CRM form integration with Prospect Hub turns every visit into a traceable opportunity:
- Get your API key from settings
- Add the code to your form (HTML or JavaScript)
- Test the submission
- Receive your leads automatically
No more monitoring an inbox, copy-pasting into a spreadsheet, or losing prospects through lack of organization. Every lead arrives directly in your pipeline, ready to be contacted.
Discover all Prospect Hub features to maximize your prospecting, or check our simple pricing to choose the plan that fits your business.
Ready to connect your form? Create your free account and get your API key in seconds.
Remember:
- Prospect Hub’s leads API accepts requests from any website
- The
pk_xxxkey is secure: it only allows creating leads - Two methods: simple HTML (redirect) or JavaScript (no reload)
- Hidden fields let you track source and origin page
- Every submission passes through 9 layers of anti-spam protection, including AI
- Always test your CRM contact form before going to production